
How to Pay a Vendor Without an Invoice
A manual payment is for when you need to pay a vendor immediately and there is no existing bill: a quick check, a cash reimbursement, or a one-off charge. In one save NolaPro creates the vendor bill, marks it paid by the method you choose, records the payment, and posts the general-ledger entries. There is no separate approval step. Everything is entered on a single page: vendor details, payment method, GL distribution lines, and the Complete Payment button.
Requirements
This workflow can use the Cost Codes For AR/AP and Special Check Size With GL On Stub features.
Enter the Payment
Where: Expenses -> Checks -> Manual Payments
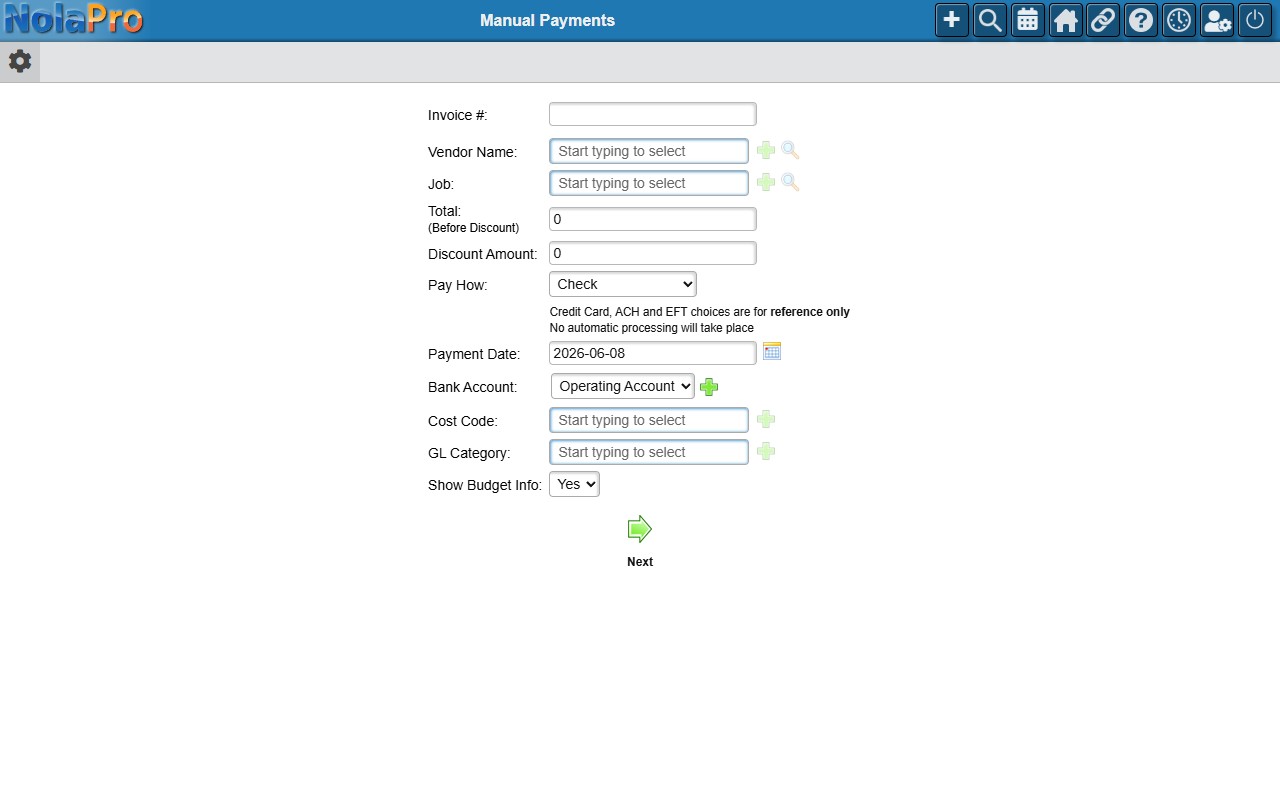
1) Choose the Vendor Name and enter an Invoice # to identify the payment (it is checked for duplicates against that vendor).
2) Select the Bank Account the money comes from. Choosing a bank account automatically sets Pay How to that account's default payment method; adjust Pay How afterward if needed. The Bank Account list is matched to the vendor's currency: once a vendor is chosen, only bank accounts in the same currency can be selected, the others are greyed out, and an already-chosen bank account is cleared if it does not match. A vendor or bank account with no currency set counts as the company's base currency, so on a single-currency company every bank account stays available. Choose the vendor first to get the correct list.
3) Enter the Total and adjust the Discount Amount if any. A Payment After Discount line appears and updates automatically as you change the Total or Discount Amount.
4) Set the Payment Date.
5) For a 1099 vendor, check Not For 1099 if this payment should be excluded from 1099 totals.
6) Enter a Description. For a paper check, confirm the Check # and Signatory.
7) Distribute the Amount across one or more GL Account lines; the line total must equal the payment total minus any sales tax. If the vendor has default GL account splits configured, the distribution lines are filled in automatically when you choose the vendor name.
8) Optionally expand Attached Files to store the receipt or supporting document.
9) Click Complete Payment to record the bill, the payment, and the GL postings together. If the GL line totals do not balance, a warning is shown and the save is blocked until you correct the distribution.
Notes
- After you click Complete Payment, a confirmation summary of the payment just recorded is shown, listing the Vendor, the Invoice (the bill that was created), the Description if you entered one, the Date, and the Amount. The Vendor, Invoice, and Amount are links, so you can jump straight to the vendor record, the created bill, or the check on the View/Cancel Checks page without navigating the menus. It also confirms the single save created everything as expected.
- Everything happens in one transaction; the bill is created and paid at once, with no separate approve step.
- Check is the only method that produces a printable check; Cash, Credit Card, and ACH/EFT are recorded as paid for reference only, with no further automated processing.
- The Check # defaults to the bank account's last-used number plus one and is updated on save.
- An Alternate Pay-to Name can be supplied for a paper check without changing the vendor record.
- A back-dated payment in a company that blocks back-dating triggers the standard warning.
- GL entries post to the Payables, discount, and per-line GL accounts on the payment date (or today, per company configuration).