How to Run an AP Check Run to Pay Vendor Bills
A check run is the routine process of paying down accounts payable: you filter the open vendor bills (often by due date), choose which ones to pay, enter the amounts, and save to create the payment records. NolaPro combines multiple bills for the same vendor onto a single check, applies any earned early-payment discounts, and posts the general-ledger entries automatically. After saving you print the checks as a PDF batch. ACH/EFT payments can be sent electronically or exported as a NACHA file for manual bank upload.
Requirements
The optional vendor confirmation step uses the Email Templates feature.
Step 1: Filter the Bills to Pay
Where: Expenses -> Checks -> Write Checks
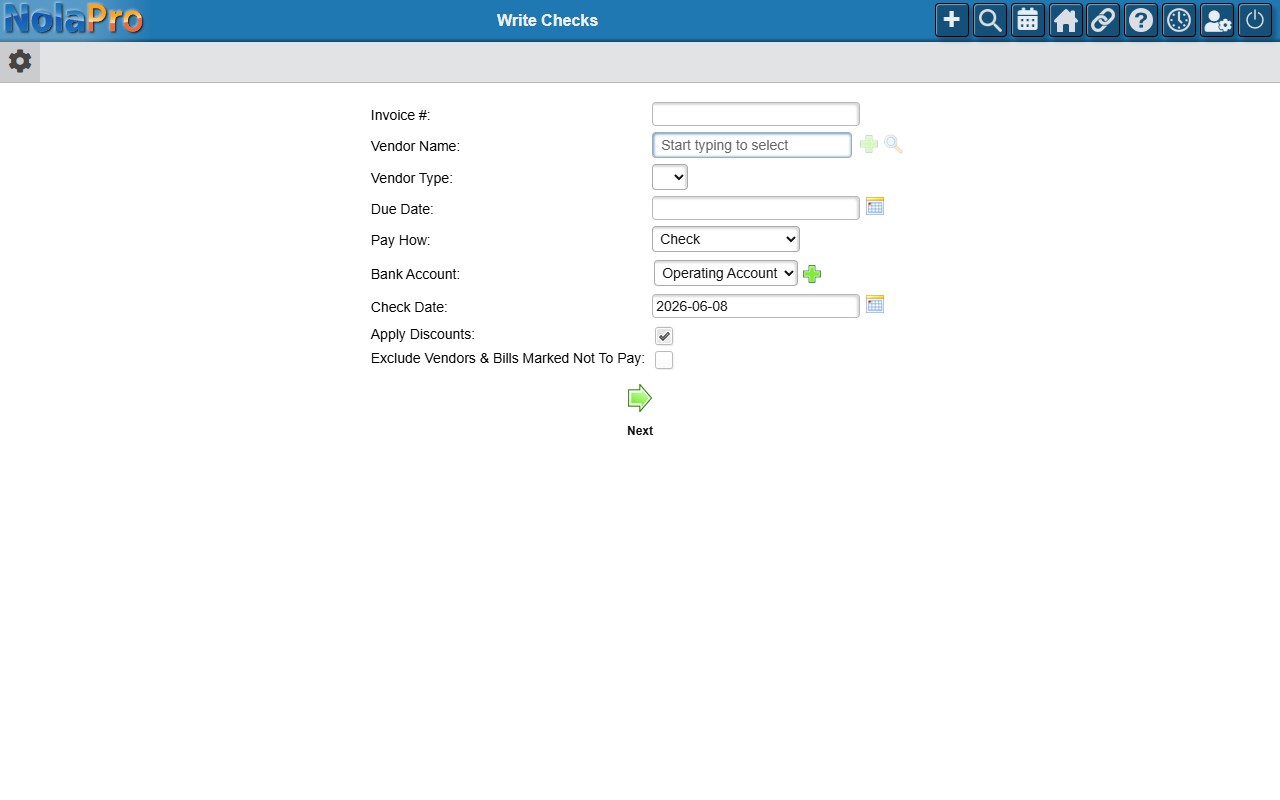
1) Optionally filter by Vendor Name, Vendor Type, or Due Date to scope the run.
2) Select the Bank Account to pay from. Choosing an account automatically sets Pay How (Check, Cash, Credit Card, or ACH/EFT) to that account's default payment type; you can still change Pay How afterward. Then confirm the Check Date.
3) Leave Apply Discounts checked to take eligible early-payment discounts, and Exclude Vendors & Bills Marked Not To Pay as needed.
4) Submit to list the matching unpaid bills.
Step 2: Select Which Bills to Pay
Where: Write Checks — bill selection
1) Each matching bill has a Pay Invoice checkbox (pre-checked unless on hold). Use the header Check All to toggle them together; a running total updates as you select.
2) Put a vendor or a single bill on hold with the Vendor Hold / Bill On Hold checkboxes to skip them.
3) Click Next to go to payment entry.
Step 3: Enter Amounts and Save
Where: Write Checks — check entry
1) Bills are grouped by vendor. Each Amount is pre-filled with the balance minus discount; adjust amounts or add Interest as needed.
2) For checks, confirm the Check # and Signatory.
3) For 1099 vendors, set Not For 1099 on any payment that should be excluded from 1099 totals.
4) Save to record all payments. Fully paid bills are marked complete.
Step 4: Print the Checks
Where: Print Checks (opened from the saved check run)
1) After saving, links to print each check appear. Printing streams a PDF with one check per page plus the remittance stub listing the bills paid. Large runs are grouped into batches.
Notes
- If the filter returns exactly one bill, the selection list is skipped and you go straight to check entry.
- Vendor-hold and bill-hold changes are saved when you submit the selection screen, even if you pay nothing.
- Multiple bills for one vendor are combined onto a single check.
- When the EFT processing feature is enabled, ACH/EFT payments are submitted electronically on save (subject to single/daily limits); without it, choose Generate NACHA File to export a file for manual bank upload.
- Earned discounts post their own GL entries; discounts only apply when the discount date has not passed as of the check date and Apply Discounts is checked.
- If a check email template is selected, each vendor is emailed a confirmation after their check is saved.
- When Bills Must Be Approved Before Payment is on, the filter form is replaced by buttons that route you through the bill-approval workflow first.
- You can also jump straight to Write Checks for a single bill, with the vendor and invoice number already filled in, in three ways: the Pay button on a vendor bill's edit page, the Pay link in a bill's quick-view menu (shown while the bill is not yet fully paid), or by clicking the Net Due amount of an open bill in the Vendor Bills list. A Back to Bill button then lets you return to the original bill.