How to Use the Employee Time Clock Kiosk
The time clock kiosk is a dedicated, employee-facing screen for recording hours. It has its own login, completely separate from the main NolaPro sign-in, so the kiosk address can be shared with staff (for example on a terminal by the door) without giving anyone access to the rest of the system. Each employee signs in with their own time clock credentials, punches in and out through the day, and can review the hours they have recorded.
This article covers using the kiosk as an employee. To create a time clock login for an employee, see the Time Clock Login article. To review and approve recorded hours before payroll, see How to Approve and Edit Time Clock Entries.
Requirements
The Employee Time Tracking feature must be enabled.
Step 1: Sign In to the Kiosk
Where: Time Clock kiosk login (your site's URL with /timecard added to the end)
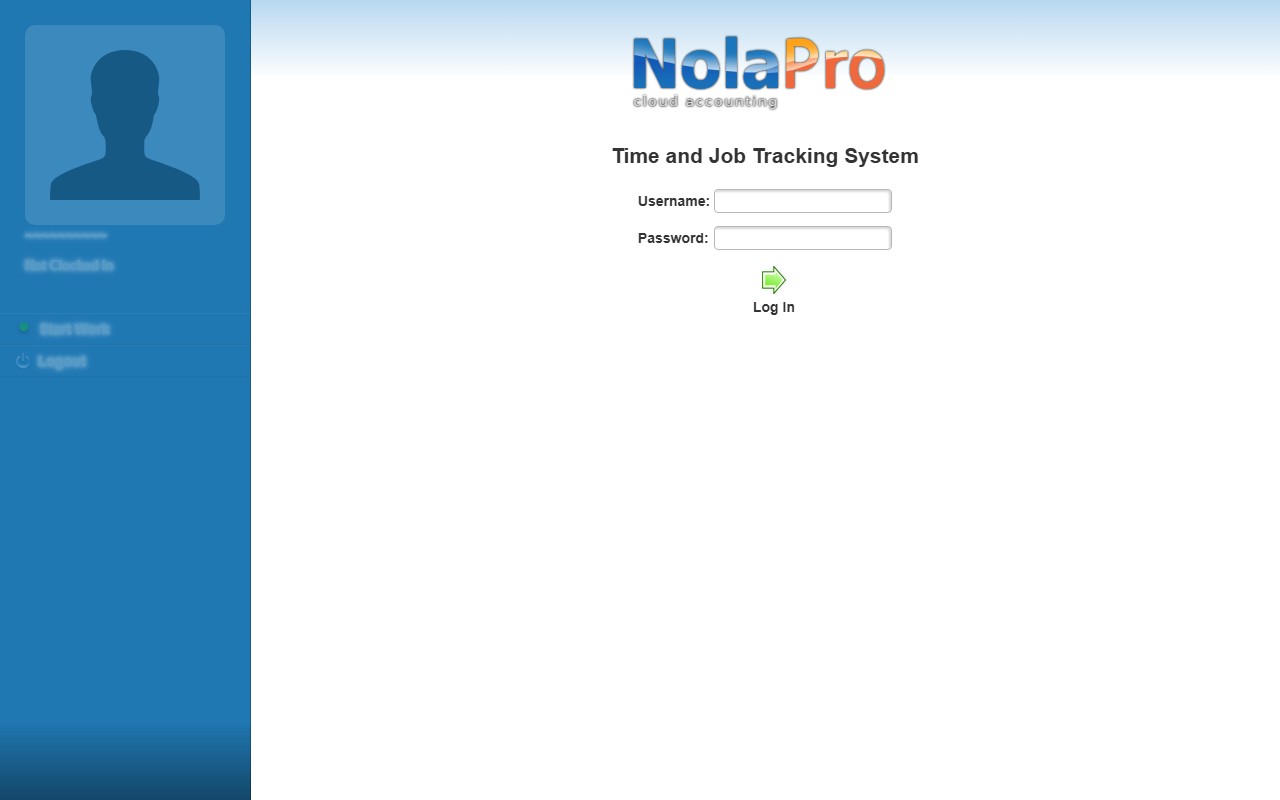
1) Open the kiosk by adding /timecard to the end of your site's URL. From inside NolaPro you can also click the chain icon in the upper-right menu and choose Time Clock.
2) Enter your time clock credentials and click Log In. These are separate from any regular NolaPro username and password.
3) Your session stays active until you log out or it expires.
Step 2: Clock In and Out
Where: Time Clock kiosk → Today tab
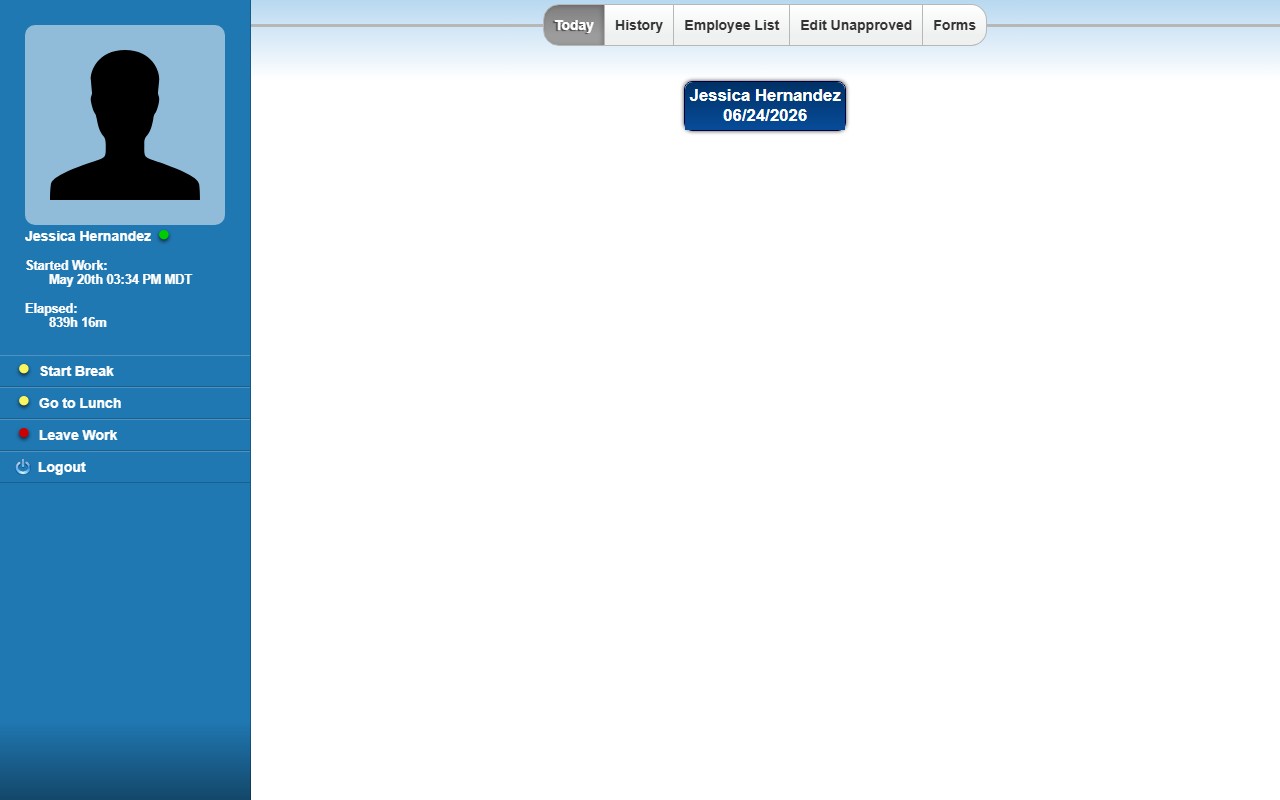
1) The Today tab shows your current punch status and the clock action buttons for the day.
2) When clocked out, use Start Work to begin a shift. While on the clock, the sidebar shows Start Break, Go to Lunch, and Leave Work to record a break, a lunch, or the end of your shift.
3) Starting a new shift automatically closes any punch you left open, so you do not end up with two overlapping entries.
Step 3: Review Your Time History
Where: Time Clock kiosk → History tab
1) Set a From Date and To Date to choose the period to review.
2) A single day shows each individual punch with start time, end time, estimated and actual duration, shift, and type (Working, Lunch, Break, or Other).
3) A range of two different dates shows a summary grouped by pay period: hours worked, hours paid, unpaid hours, base rate, and a pay breakdown for standard time, overtime, and piecework.
4) The Employee List tab shows who else is currently clocked in, unless your account has that view restricted.
Step 4: Correct an Unapproved Entry (optional)
Where: Time Clock kiosk → Edit Unapproved tab
1) Choose a Begin Date and End Date to list your unapproved entries.
2) Edit the hours and notes inline on any entry that has not yet been approved.
3) If manual time entry is enabled for your company, a Pay Type selector and a New Time row appear so you can add an entry for a specific date.
4) Saved changes are flagged as employee-edited so a supervisor can review them.
Step 5: Download a Pay Stub (optional)
Where: Time Clock kiosk → Pay Stubs tab
1) The Pay Stubs tab appears only when pay stub download is enabled. An administrator turns it on at Admin -> Payroll -> Time Clock Setup (Allow Pay Stub Download option).
2) Set a date range to list the pay periods within it.
3) Use the View link next to a period to open its pay stub.
Notes
- The kiosk login is independent of the main NolaPro login; an employee session grants no access to administrative pages.
- Once you punch in and out, the entries flow to the supervisor's approve-and-edit screen, where a manager reviews and approves them before payroll (see How to Approve and Edit Time Clock Entries).
- If you stay clocked in past the maximum allowed consecutive hours, the dashboard is replaced by an over-hours warning prompting you to clock out.
- Break and lunch time can be capped by company settings, with time beyond a cap excluded from hours paid.
- A Forms tab appears only when the Form Manager feature is enabled.
- If the company uses time zones, punch timestamps are shown adjusted to the configured company time zone.