How to Take an Order at the Point-of-Sale Screen
The Point of Sale screen is a single-screen way to enter a sales order fast — at a counter, on a tablet, or in the field. You select a customer, add items with quantities, and submit; NolaPro builds the order, calculates tax and totals as you go, and returns the resulting invoice number. Selecting the customer automatically pulls their ship-to, terms, salesperson, sales category, and price level. Completed orders appear alongside everything else in the Orders list.
Requirements
A Default Location and a Default Price Level must be set (configure both at Admin -> Billing -> Company Options → General); if either is missing, the POS screen blocks access.
Step 1: Open the POS and Select a Customer
Where: Income -> Orders -> POS
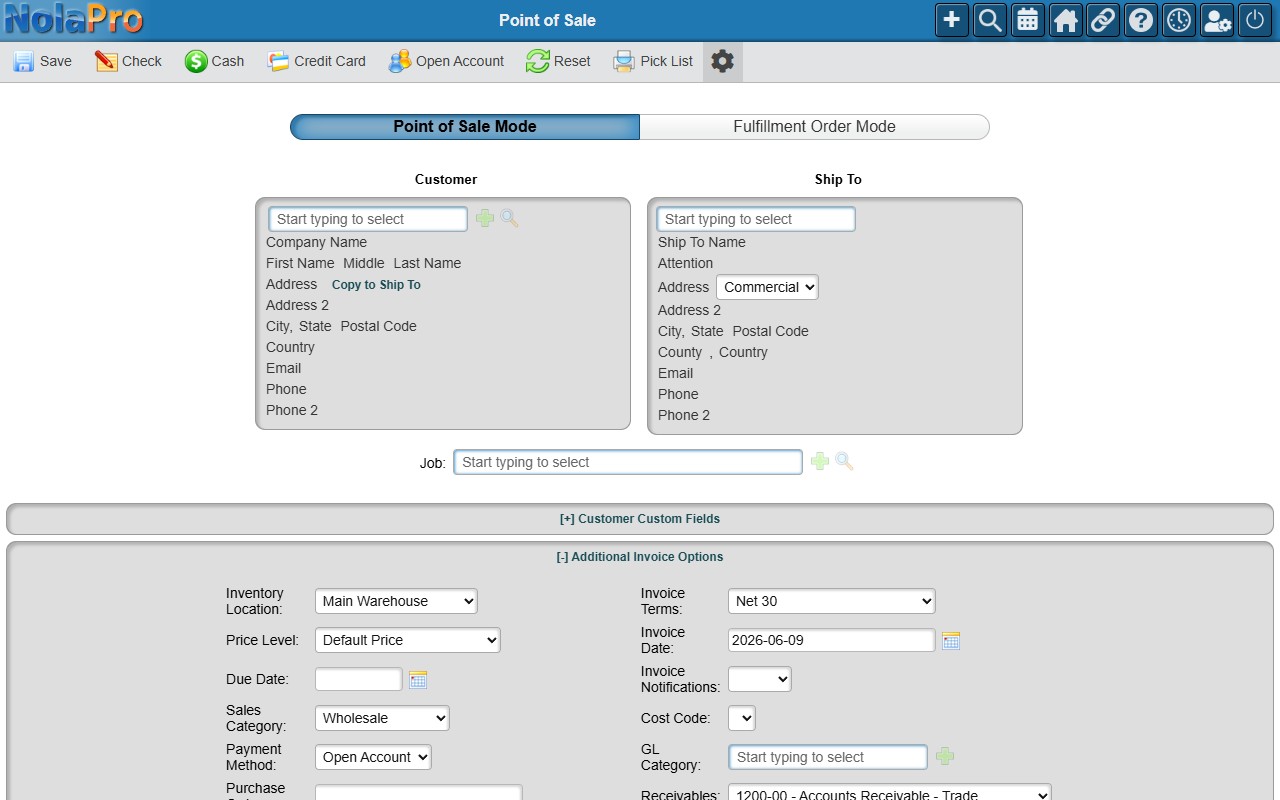
1) Open the Point of Sale screen. It loads as a single page for selecting the customer, adding items, and editing quantities.
2) Choose the Customer. Their ship-to, terms, salesperson, sales category, and price level are applied automatically.
Step 2: Add Items to the Cart
Where: Income -> Orders -> POS (item panel)
1) Search for an item, set the Qty (defaults to 1), and add it to the cart.
2) Each item appears in the cart with its calculated price and tax. Tax and totals recalculate every time you add an item or change a quantity.
3) To change a line, open it and adjust the Qty.
Step 3: Submit the Order
Where: Income -> Orders -> POS (cart)
1) Submit the cart as a sales order (for example, with Done or the matching save/pay action).
2) On success, the confirmation screen shows the resulting invoice number; start a new order from there.
Step 4: Review the Order Afterward
Where: Income -> Orders
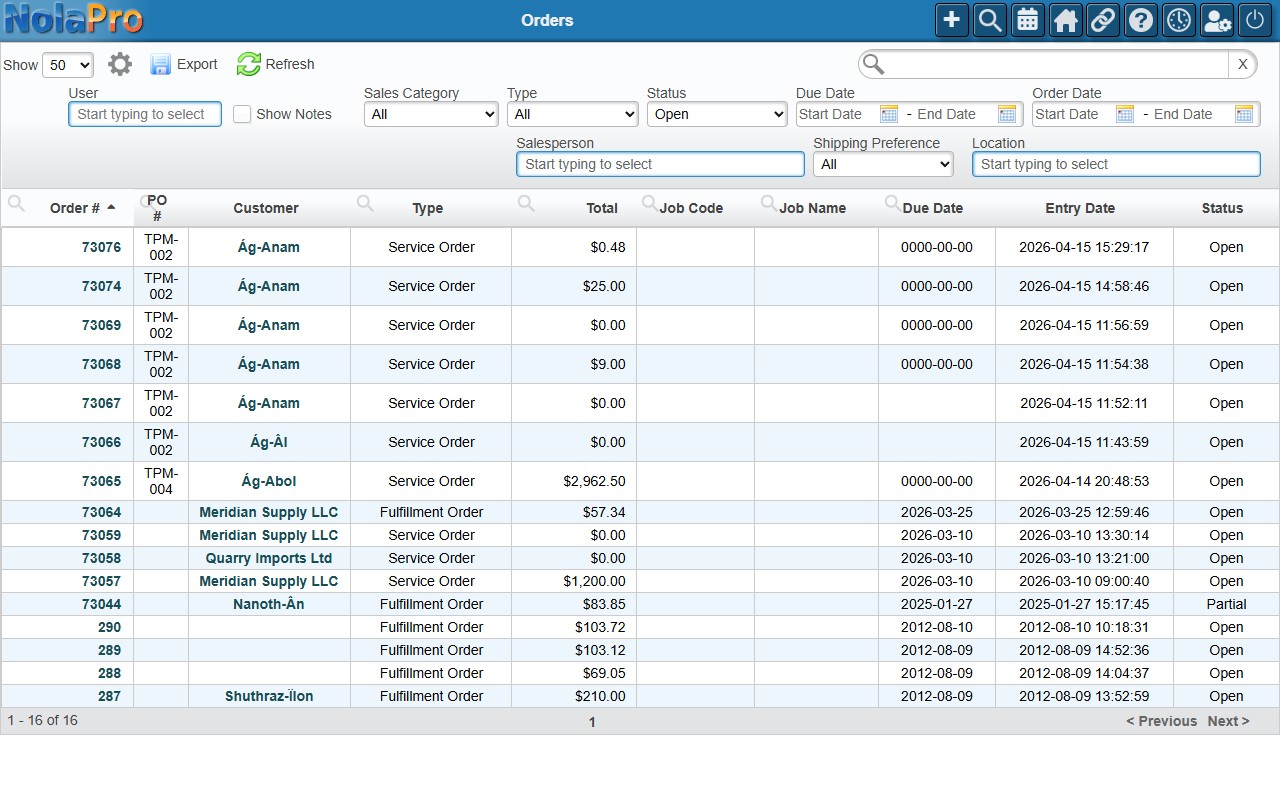
1) The new order appears in the Orders list, where it can be reviewed, shipped, or invoiced like any other order.
Notes
- NolaPro offers more than one point-of-sale style. Besides this Point of Sale screen, there is also the Sales Clerk Style Point of Sale. The older standalone Mobile POS app has been deprecated, so new point-of-sale order entry uses this screen.
- Before the POS loads, the system checks for a valid inventory location (from the user's personal POS profile or the company default) and a default price level. If either is missing, access is blocked with a message naming the missing setting.
- Prices come from the customer's price level (falling back to the company default price level).