How to Create a New Customer Invoice
A customer invoice is the document that records what a customer owes you for goods or services. NolaPro builds it through a four-step wizard: first you pick the customer and invoice date, then you fill in the invoice header details, next you enter the line items, and finally you confirm the due date and tax before saving. Optional features such as multi-currency, inventory location, cost codes, and end notes only surface extra fields when those features are enabled, so the basic flow is the same whether or not you use them.
Requirements
Optional features (Multi-Currency, Inventory & Ordering, Cost Codes for AR/AP, Invoice End Notes) add extra fields when enabled. If Use POS For All New Invoices is turned on at Admin -> Billing -> Company Options, the New Invoice page redirects to the Point-of-Sale Order screen instead of this wizard.
Step 1: Select the Customer and Invoice Date
Where: Income -> Invoices -> New Invoice
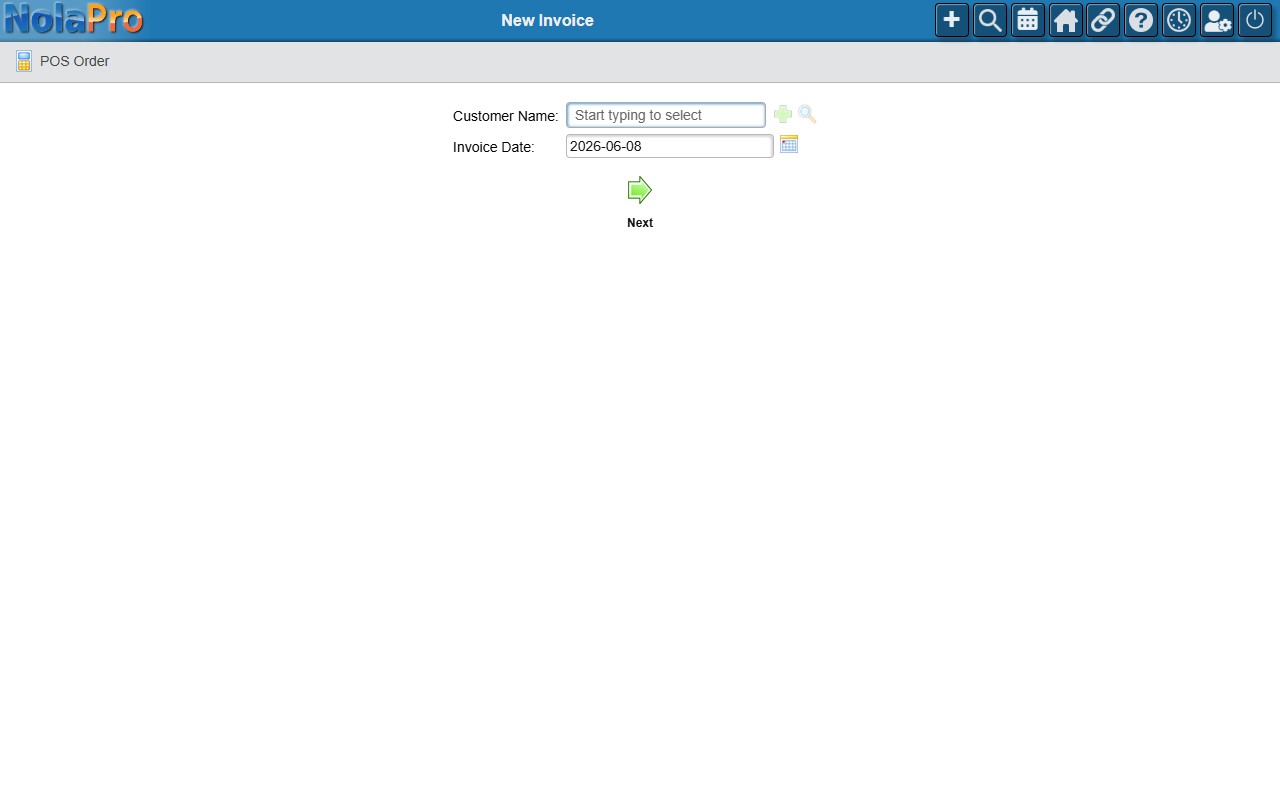
1) Type the customer into the Customer Name field and select them.
2) The Invoice Date defaults to today; change it if needed.
3) If your company applies tax at the customer level (rather than per ship-to address) and the customer is not tax-exempt, choose one or more rates in the Sales Tax field here.
4) Submit to advance to the header page. This creates a draft invoice record.
Step 2: Enter Header Details
Where: Income -> Invoices -> New Invoice (header page)
1) Choose the Ship To address for this invoice.
2) Optionally override the auto-generated Invoice #.
3) Set the Purchase Order, Shipping Method, Salesperson, and Invoice Terms (which default to the customer's configured terms).
4) Pick a Currency, Sales Category, Inventory Location, or Cost Code if those fields are shown for your setup.
5) If taxes are configured at the ship-to level, select the Sales Tax rates here instead of on Step 1.
6) Set the Preferred Invoice Notification Method (Email, Mail, or Fax) and check any Standard End Note boxes you want included.
7) Click Next to advance to the line-items page.
Step 3: Enter Line Items
Where: Income -> Invoices -> New Invoice (line items page)
1) For each line, enter a Line Description (required for the line to be kept), a Quantity and Quantity Unit, the Price Each and Price Unit, and the Qty Per Price Unit. Lines with a zero quantity and no description are skipped.
2) Check the Taxable box for each applicable tax rate on each line (hidden for fully tax-exempt customers).
3) Set the GL Sales Account per line if shown, and enter a Shipping Cost in the line item footer if applicable.
4) Click Next to save the line items and advance to the final step.
Step 4: Confirm Due Date and Tax
Where: Income -> Invoices -> New Invoice (due date and tax page)
1) Review the Due Date and Discount Date, both pre-calculated from the invoice terms; override either if needed.
2) Review the Tax Amount for each rate, auto-calculated from the taxable line totals; adjust manually if necessary.
3) Use Edit Costs if you need to adjust line-item pricing before finalizing.
4) Click Next to finalize and save the invoice.
Notes
- Line items are saved when you click Next at the end of Step 3, not on the final Next. The last step only saves the due date, discount date, tax amounts, and notes.
- The invoice number is generated automatically when the header page loads; you can change it manually before saving.
- If the new invoice would push the customer past their credit limit, a warning banner appears in the line item footer, but the invoice can still be saved.
- If the shipping cost is configured as taxable, it is added to the taxable base when tax amounts are calculated on Step 4.
- If the Use POS For All New Invoices setting is on (or the Avalara tax integration is active), this page redirects straight to the Point-of-Sale Order screen instead of the wizard. If clicking New Invoice takes you to the single-screen Point-of-Sale Order page rather than this four-step wizard, that setting is enabled; see How to Take an Order at the Point-of-Sale Screen for entering the sale there.