How to Set Up the B2B Portal and Add B2B Users
The B2B portal is a separate, customer-facing area of NolaPro where your customers can log in to view their account and place orders directly. Setting it up has two parts: first you can upload a logo or graphic for the portal login screen so it carries your branding, then you create one or more login accounts for each customer. Every login account is tied to a single customer and to a B2B Access Level, which governs what that user can see and do once signed in. Until at least one login account exists for a customer, that customer cannot access the portal.
Requirements
The B2B System feature must be enabled. If Block Salespeople From Seeing Orders, Invoices, Customers Other Than Own is on (configured at Admin -> Billing -> Company Options → General), the customer picker only shows customers assigned to the current user's salesperson.
Step 1: Upload the Portal Login Graphic (optional)
Where: Admin -> System -> B2B Site Graphics
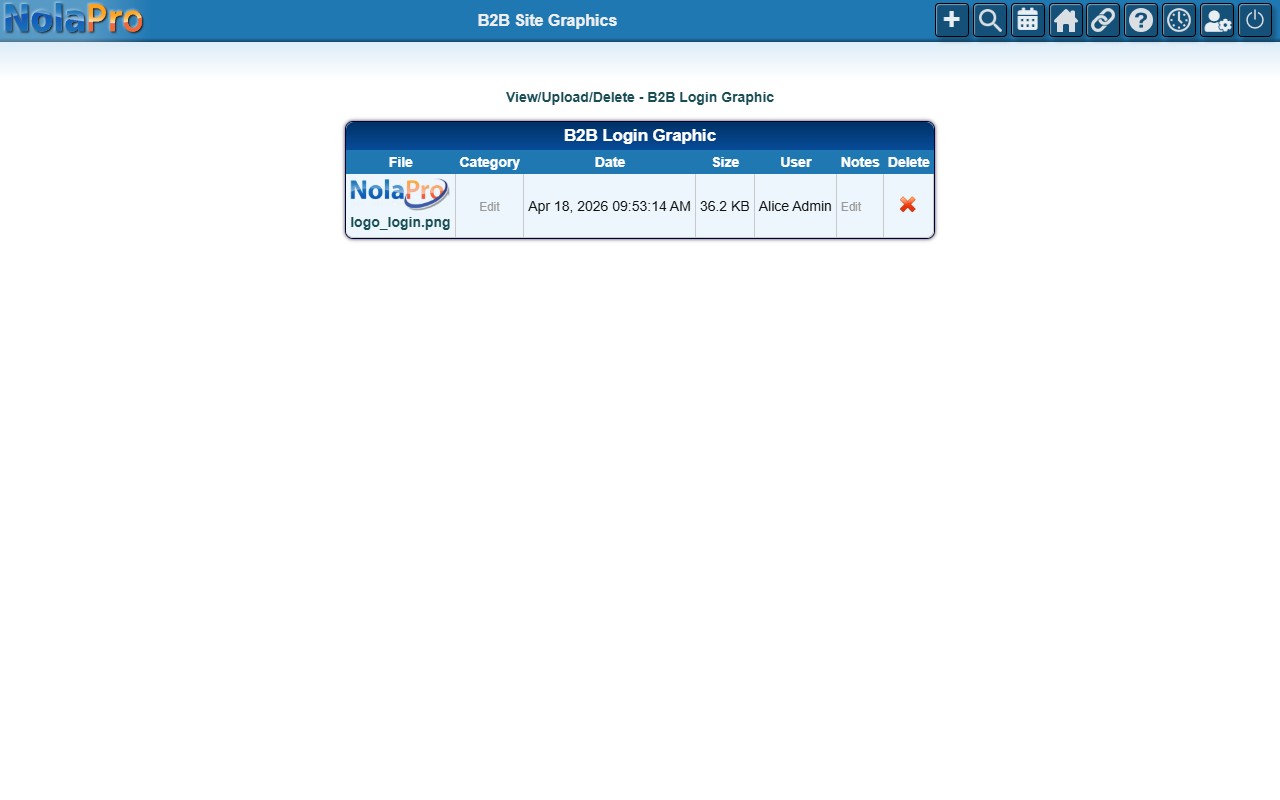
1) Use the upload link to select your image file and submit it.
2) The current graphic is shown with options to view, replace, or delete it.
Step 2: Pick the Customer
Where: Income → Customers → B2B Users
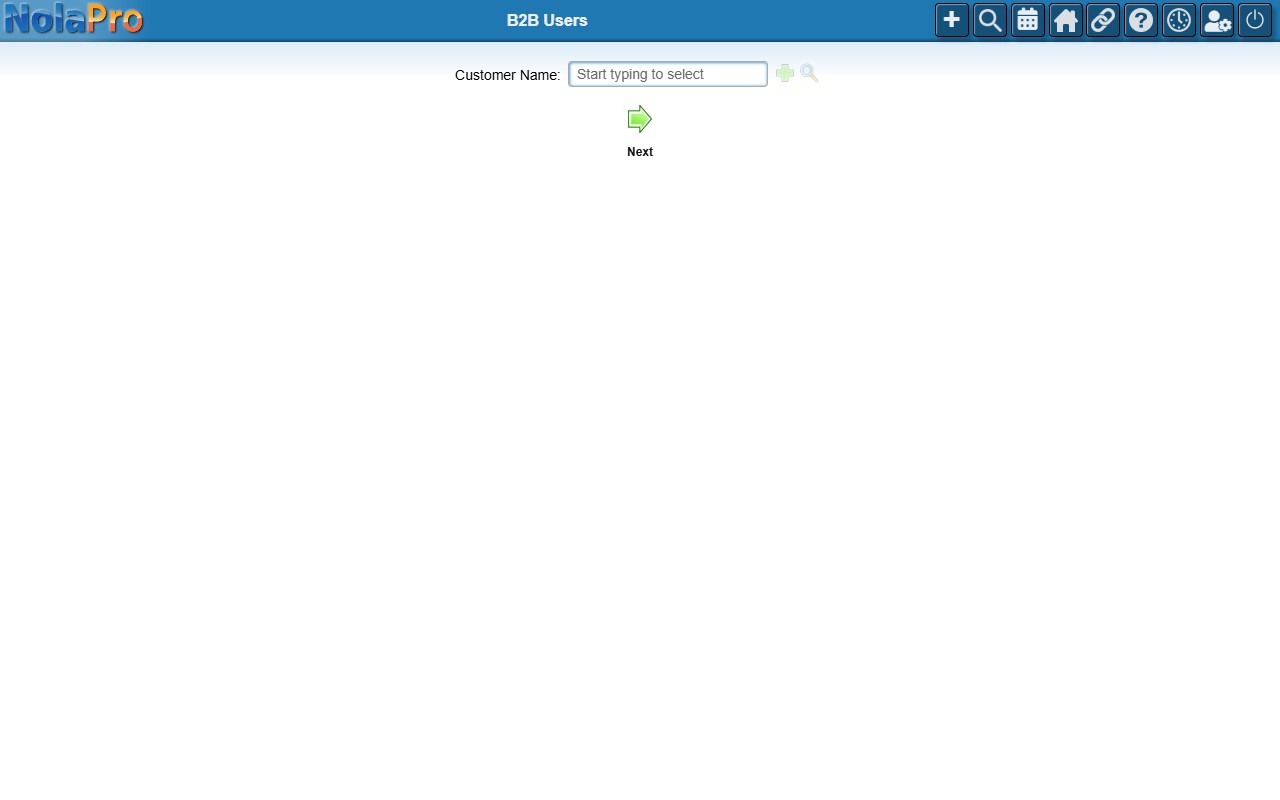
1) Type or select the customer whose portal users you want to manage in the Customer Name field and click Next.
2) If this customer already has portal users, you'll see a Username list where you can select one to edit, or click Add to create another.
3) If the customer has no portal users yet, the page jumps straight to the Add screen.
Step 3: Create the Login Account
Where: Income → Customers → B2B Users (Add screen)
1) Enter First Name, Last Name, and Email (all required).
2) Filling in Email auto-fills Login Name if it is still blank; adjust it if needed.
3) Enter a Password and matching Verify Password.
4) Optionally enter a Phone number (this is saved back to the customer record).
5) Choose the Access Level that controls what this user sees in the portal.
6) Save to create the account.
Step 4: Manage the User (optional)
Where: Income → Customers → B2B Users (Edit screen)
1) Email A Password Reset generates a fresh random password and emails it to the user.
2) Log In As This User opens the portal in a new tab signed in as that user, so you can see exactly what they see.
3) Delete cancels the login so it can no longer access the portal.
Notes
- The login graphic upload widget only appears when the B2B System feature is enabled; without it the page shows only the title.
- Saving a new user creates both the user record and an access-level link; both must succeed for the save to report success. The entered phone number is also written to the customer record.
- On the Edit screen, leave the Password fields blank to keep the existing password unchanged.
- Email A Password Reset sends the user a temporary password they should change after logging in.
- Log In As This User changes nothing on the account; it creates a one-time temporary password, signs you in as that user, and discards the temporary password afterward.
- Delete is a soft cancel; the record is marked canceled and excluded from future user lists, but historical references stay intact.