
Adding and Editing Vendors
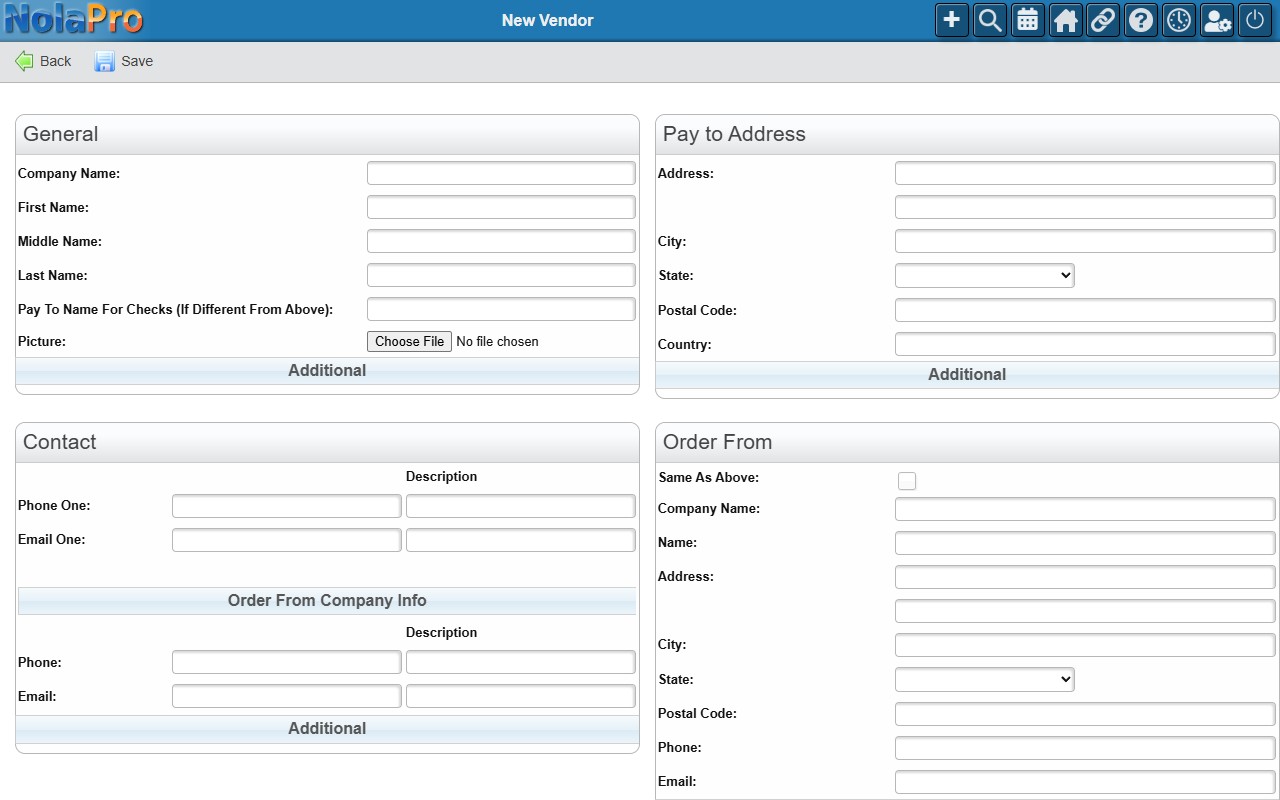
A vendor record captures the vendor's name and address, contact info, an optional separate Order From address, payment preferences (terms, payment method, bank account, allowed payment types per check account), tax setup, and any extra flex-fields configured for your company.
Add a new vendor from Expenses -> Vendors -> Add Vendor.
Viewing and Editing a Vendor
To edit a vendor, open Expenses -> Vendors and pick the vendor from the autocomplete to open the vendor view/edit page — a tabbed page showing balance and YTD totals and linking to the vendor's activity, contacts, POs, PO receipts, bills, payments, statements, files, and notes, where you can also edit the vendor's master data.
Vendor Types
Where: Admin -> Payables -> Vendor Types
Vendor types are labels you define to classify vendors (for example "Supplier", "Contractor", "Utility"). Once defined, the type is set on each vendor's view/edit page, and the vendor list can be filtered and shows the type as a column.
1) Click Add, enter the description of the type and click Save.
2) To rename a type, pick it from the dropdown and click Edit, change the description and Save. Delete removes the type after a confirmation; vendors that used it simply have no type until another is chosen.